

Wow...has he changed from July 4, 2010!
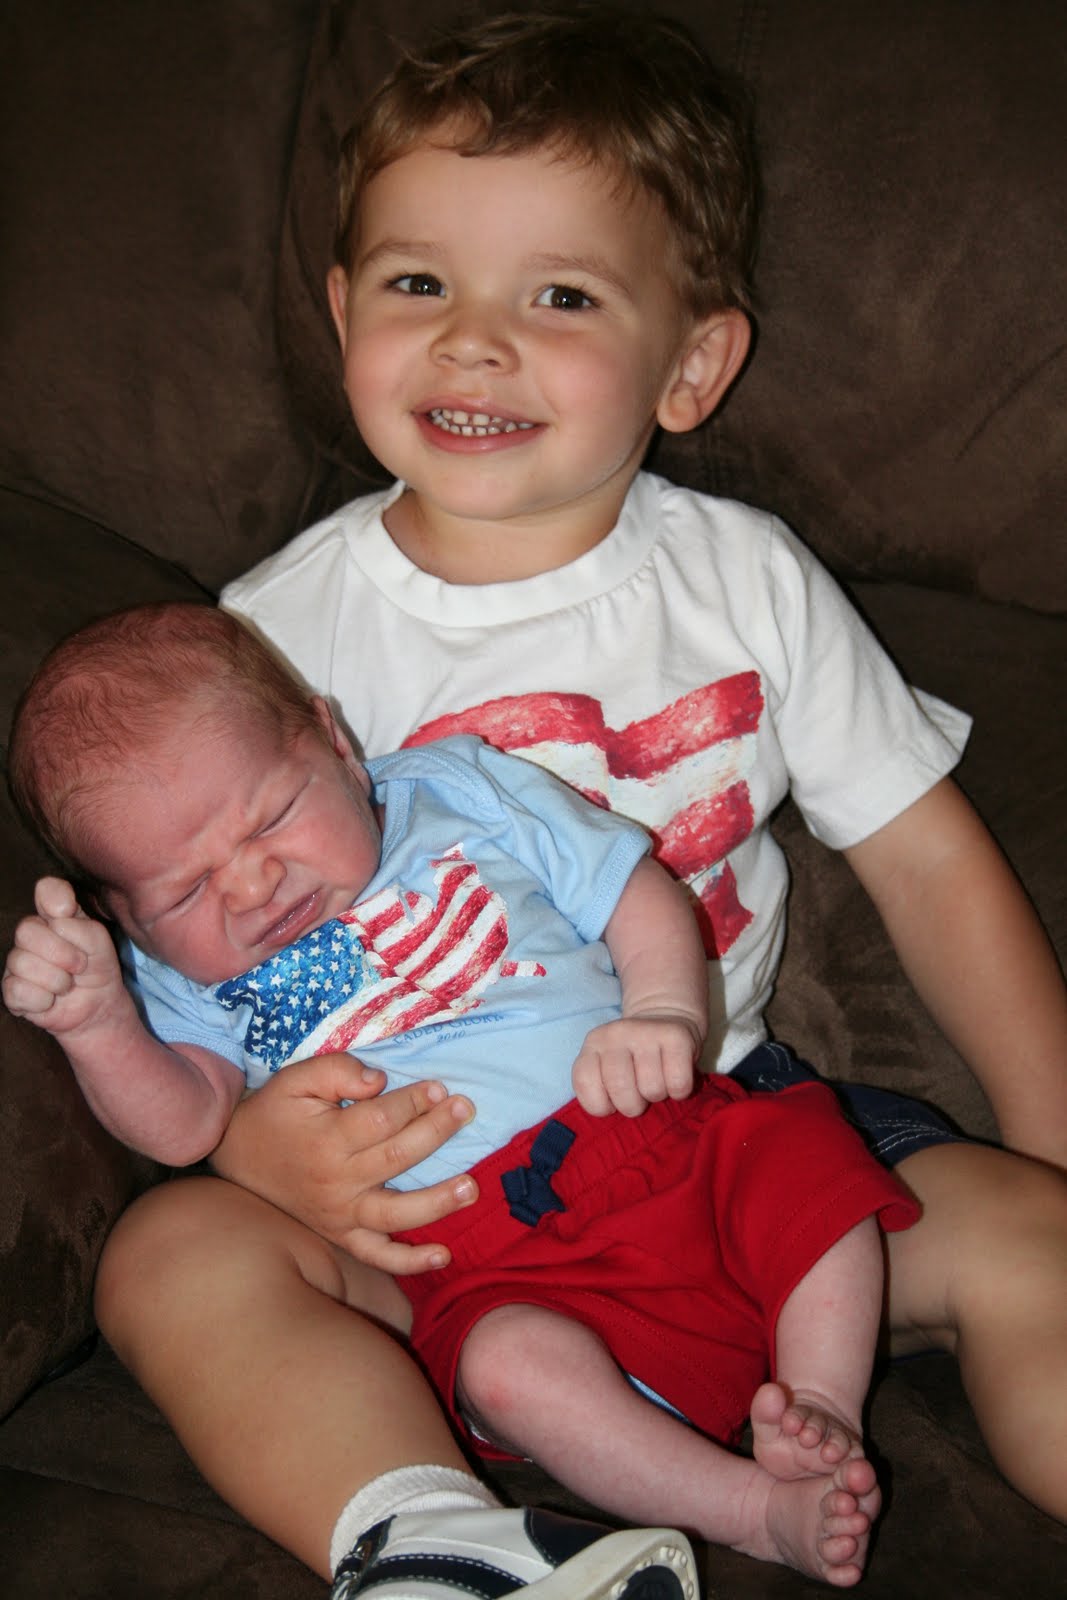
2 weeks old
(WHERE has the time gone??!)
I will apologize in advance for the quality of these pictures. My guest/sewing/craft/storage room has a pitiful amount of natural light and the overhead light isn't much better. {I won't mention I took most of these pictures after the boys were in bed tonight, so natural light really wasn't an option.} =)
Materials

* 9x12" piece of chenille (or terrycloth, or whatever material you want for the back)
* thread
* straight pins or quilters pins
* pen/marker/pencil/something to trace your pattern with (it will be on the inside of the finished bib, so a washable writing device isn't necessarily necessary.) Say that 3 times fast.
* sewing machine
Step 1: Place your cotton fabric (which will become the front of your bib) face down and trace your pattern onto the back of it. *Note: I'm in the process of trying to figure out how to make a bib pattern you can print out here...hopefully soon. Until then, just enjoy the tutorial (ha!) or trace a bib you have laying around the house.*

Step 2: Cut out the front of the bib.
Step 3: Lay the bib front right side down on top of your chenille (or backing material) which is right side up. (The 2 right sides of material are now together.)

Step 5: Starting at the bottom left corner of your bib (as it lays in front of you), sew around the bib's outline, stopping after you make the last turn on the bottom right corner of your bib (as it lays in front of you). Now you should have the 2 pieces of material completely sewn together, minus the bottom of the bib.


Oops. I forgot to keep numbering my steps.
Okay, um....Step 13-ish: Now you're going to top-stitch around your entire bib. You can use whatever seam allowance you like here...I personally use about 1/4". Start at the bottom right corner (as the bib is laying in front of you) and sew the opening closed first, and then continue around the bib. Make sure to backstitch when you come around to where you started.


Now you need to add your fastener of choice. For this bib I'm using velcro, but a snap works just as well. Totally a personal preference.
Cut about a 1" piece of velcro and find the location you want it.

I find it easier not to pin the velcro since I use such a small piece, but you certainly could if you don't feel like you can hold it in place well enough while you sew. Now, my technique is probably different than some, but I prefer to sew each side of my velcro rectangle multiple times before moving on to the next side. Basically, I start at the top right corner and sew straight down to the bottom right corner. Then, I backstitch the whole side - up to the top right corner...and then back down. Now, the right side has 3 rows of stitching (all on top of the others) while the other 3 sides have no stitching. Make sense?

Then do the same for each of the other 3 sides. (In the above picture, I've done the first 3 sides, and have just started on the 4th). At each corner, leave your needle down, lift your foot, and pivot the bib before starting the next side.
Match up where you want the other piece of velcro on the inside (chenille side) of the piece which will go around baby's neck and repeat the process.
When you're all done, it should look like this:

And voila! You have a patriotic (or fabric of your choice!) bib for baby!
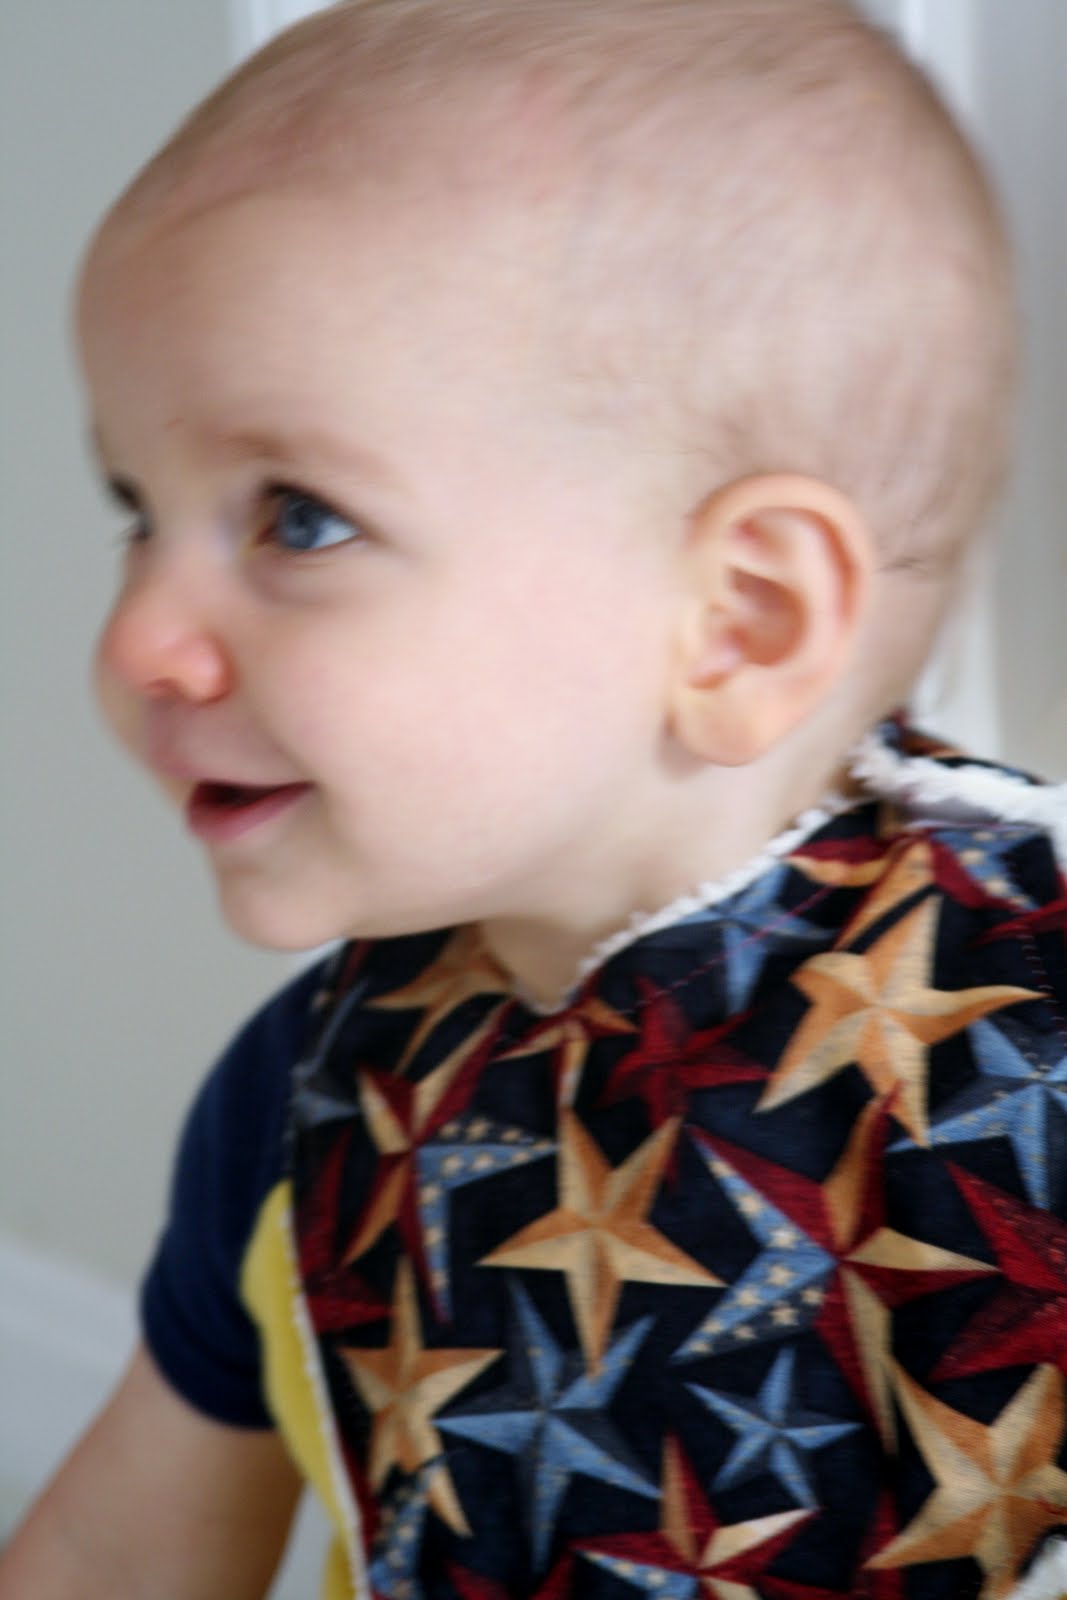


My little model proved why I tend to prefer snap closures. =)
I'm linking up to Tip Junkie's Tip Me Tuesday:

these are great! i need to make some for my itty bitty!
ReplyDelete